It’s called “kokedama.” It would make a great Scrabble word, but kokedama isn’t a board game. It’s a way of planting. One website I looked at says kokedama is more than a fad: It’s “a way of life.” I might not go that far, but kokedama is definitely fun and trendy and easier than it looks.
“Koke” = moss, “dama” = ball
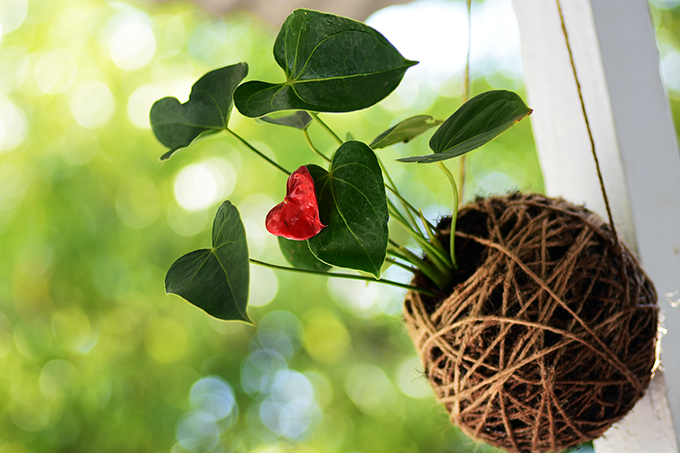
Kokedama is a moss-covered ball of soil that serves as the pot or container for a plant. It’s an offshoot of the ancient Japanese art of bonsai. Kokedama can be displayed as a hanging plant, referred to as “hanging Japanese moss ball gardens,” or simply set tabletop on a small tray, shallow bowl or plank of wood. Either way, judging from the kokedama workshops we’ve been having at Tagawa’s in recent months, it’s a big hit with people who like to play in the mud a bit, and have a beautiful plant to show for it when they’re done.
Let’s look at the materials you’ll need and the basic steps you’ll take to make a kokedama of your own.
“Right plant, right place”
Decide where you want to display your kokedama before you choose your plant. Specifically, you want to make sure you can give your plant the light it needs to stay healthy. At Tagawa’s kokedama workshops, we do that for you and offer a variety of houseplants that are easy to grow and do well in a moss ball, usually in bright but indirect light.
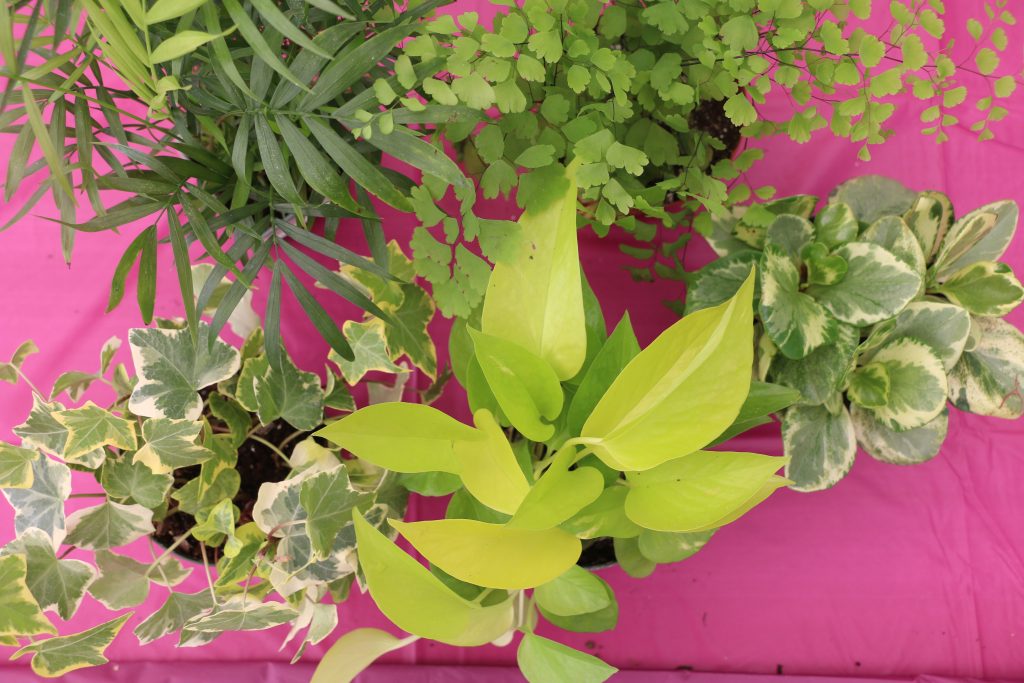
Starting out, a small houseplant is easier to handle, but as you get a little more experience you can choose larger plants. The internet even has examples of small trees growing as kokedama suspended from (hopefully) sturdy rafters.
The magic’s in the mix
The “recipe” for the soil mix used for kokedama seems to vary as much as recipes for your favorite homemade fried chicken or pizza. Some kokedama recipes are more elaborate than others and require special, and often expensive bonsai soil, which is a particular type of clay. For our Tagawa workshops, Meagan, my Outreach buddy and I, have decided that half good-quality potting soil and half peat moss works best.

Add enough water to make a very sticky mix. Remove most of the soil around the roots of your plant. Form a ball of soil big enough to cover the roots then “crack” the ball in half and nestle the roots in between the two half-spheres. Reshape and press the whole thing back into a ball. You can use some extra soil to patch the seams.
Time to “swaddle”
“Swaddling” sounds so much more nurturing than “wrapping” or “covering,” don’t ya think? But it all amounts to the same thing. Still, it’s my blog, so we’re going with swaddling.

Lay out flat some thoroughly-soaked sheet moss to swaddle your kokedama, whether it’s a large piece of moss or several small ones. For small, beginner plants, arrange the moss into a flat circle about 10- to 12″ across. Set the ball into the middle of the moss. Start pressing the moss into place around the soil ball. With a little effort, the moss will begin to adhere to the soil. Patch any exposed soil with small pieces of moss and press into place.
Bring on the string!
The last step is to wrap the moss-covered ball with string. Many of the kokedama demo’s you’ll see on the internet use jute, a rough cotton twine. It looks great… in the beginning. But Meagan and I have learned that it’s only a matter of time until the a natural fiber like jute begins to decay next to the moist moss.

We’ve decided it’s best to go with a synthetic like nylon or a wax-covered covered string that won’t react to its wet surroundings. We use about six yards of string on a soft-ball sized kokedama.
Begin by wrapping the string once very firmly around the kokedama and knotting it securely. Rotate the moss ball in your free hand as you go. Keep pulling the string as tightly as you can as you go. Secure all of the loose edges of the moss in a random but evenly-spaced pattern. Run string near the crown of the plant where the foliage emerges from the soil, but never through the base of plants that have multiple stems. Secure the string by knotting it, then pushing a two-inch tail into the kokedama with a chop stock.

Display your kokedama on a shallow bowl of tray, possibly on top of some decorative gravel. If you prefer to hang your kokedama, attach one or more strings to the moss ball and suspend it at the desired height.
Water your kokedama every week or ten days as the moss ball begins to feel especially light. Just soak the whole moss ball for ten minutes in a bowl of room temperature water.
Get ready for questions and compliments!
I think making kokedama is both fun and therapeutic, especially when gardening outdoors is pretty limited. Come see us at Tagawa’s for all the materials you’ll need to make your first kokedama and chat with our staff in Houseplants for more advice.
Whether you decorate your own home with kokedama or give them as gifts, you’ll always have the answer to “koke-what?” Good luck!